Aspida の導入
前のページでセットアップした Fastify サーバーに、クライアントから HTTP リクエストを送信しましょう。
ところで、fetch や axios など一般の HTTP クライアントを使うと、レスポンスの型は any になり、「1つの TypeScript」に到達することが難しくなります。
そこで、TypeScript フレンドリーな HTTP クライアントラッパーである aspida を使いましょう。


TypeScript friendly HTTP client wrapper for the browser and node.js.
Star1. API を型定義する
1.1. API 定義ファイルを作成する
frourio-tutorial ディレクトリに戻り、API 型定義を用意します。
mkdir -p src/api/hi
yarn add aspida
src/api/index.ts と src/api/hi/index.ts を作成し、以下のように編集します。
import { DefineMethods } from 'aspida';

export type Methods = DefineMethods<{
  get: {
    resBody: {
      hello: string;
    };
  };
}>;
エディターによる適切な支援を受けるために、DefineMethods は セミコロンと共に 使うことをおすすめします。
1.2. Aspida の設定ファイルを用意する
aspida.config.js を作成し、以下のように編集します。
module.exports = {
  input: 'src/api',
  baseURL: 'http://localhost:8888',
};
1.3. Aspida でオブジェクトを生成する
次に、aspida を用いて API 定義を生成します。
CLI ツールである aspida は、API 型定義ファイルを対応するパスとし、1 つのオブジェクト に変換します。
yarn aspida
Aspida は api/$api.ts を生成します。
このファイルにはエンドポイントの情報とそれぞれの HTTP メソッドについての型定義がオブジェクトの階層構造として含まれています。
1.4. $api.ts ファイルを読む(任意)
すでに aspida について知っている場合は、このセクションを飛ばしても構いません。
api/$api.ts に注目してみましょう。
このファイルには、api という名の関数があります。この関数はエンドポイントについての情報を持ったオブジェクトを返します。
すべての情報が完全に型付けられているので、エンドポイントを型安全に呼び出せるというわけです。
2. API リクエストを送信する
2.1. API クライアントを作成する
API リクエストを送信するには、@aspida/fetch や @aspida/axios などの HTTP クライアントラッパーを使用します。
このチュートリアルでは、@aspida/fetch を使いましょう。
yarn add @aspida/fetch
次に、src/apiClient.ts を作成し、以下のように編集します。
import api from './api/$api';
import aspida from '@aspida/fetch';

const apiClient = api(
  aspida(undefined, {
    baseURL: 'http://localhost:8888',
  }),
);

export default apiClient;
2.2. サーバーから取得する
続いて、src/App.tsx を以下のように編集します。
-import React from 'react';
+import React, { useEffect, useState } from "react";
+import api from "./apiClient";

 function App() {
+  const [greeting, setGreeting] = useState("loading...");
+
+  useEffect(() => {
+    api.hi.$get().then((res) => {
+      setGreeting(res.hello);
+    });
+  }, []);
これで greeting に API レスポンスが得られました。
2.3. Greeting を表示する
あと残っているのは、表示するだけです。
<p>
Edit <code>src/App.tsx</code> and save to reload.
</p>
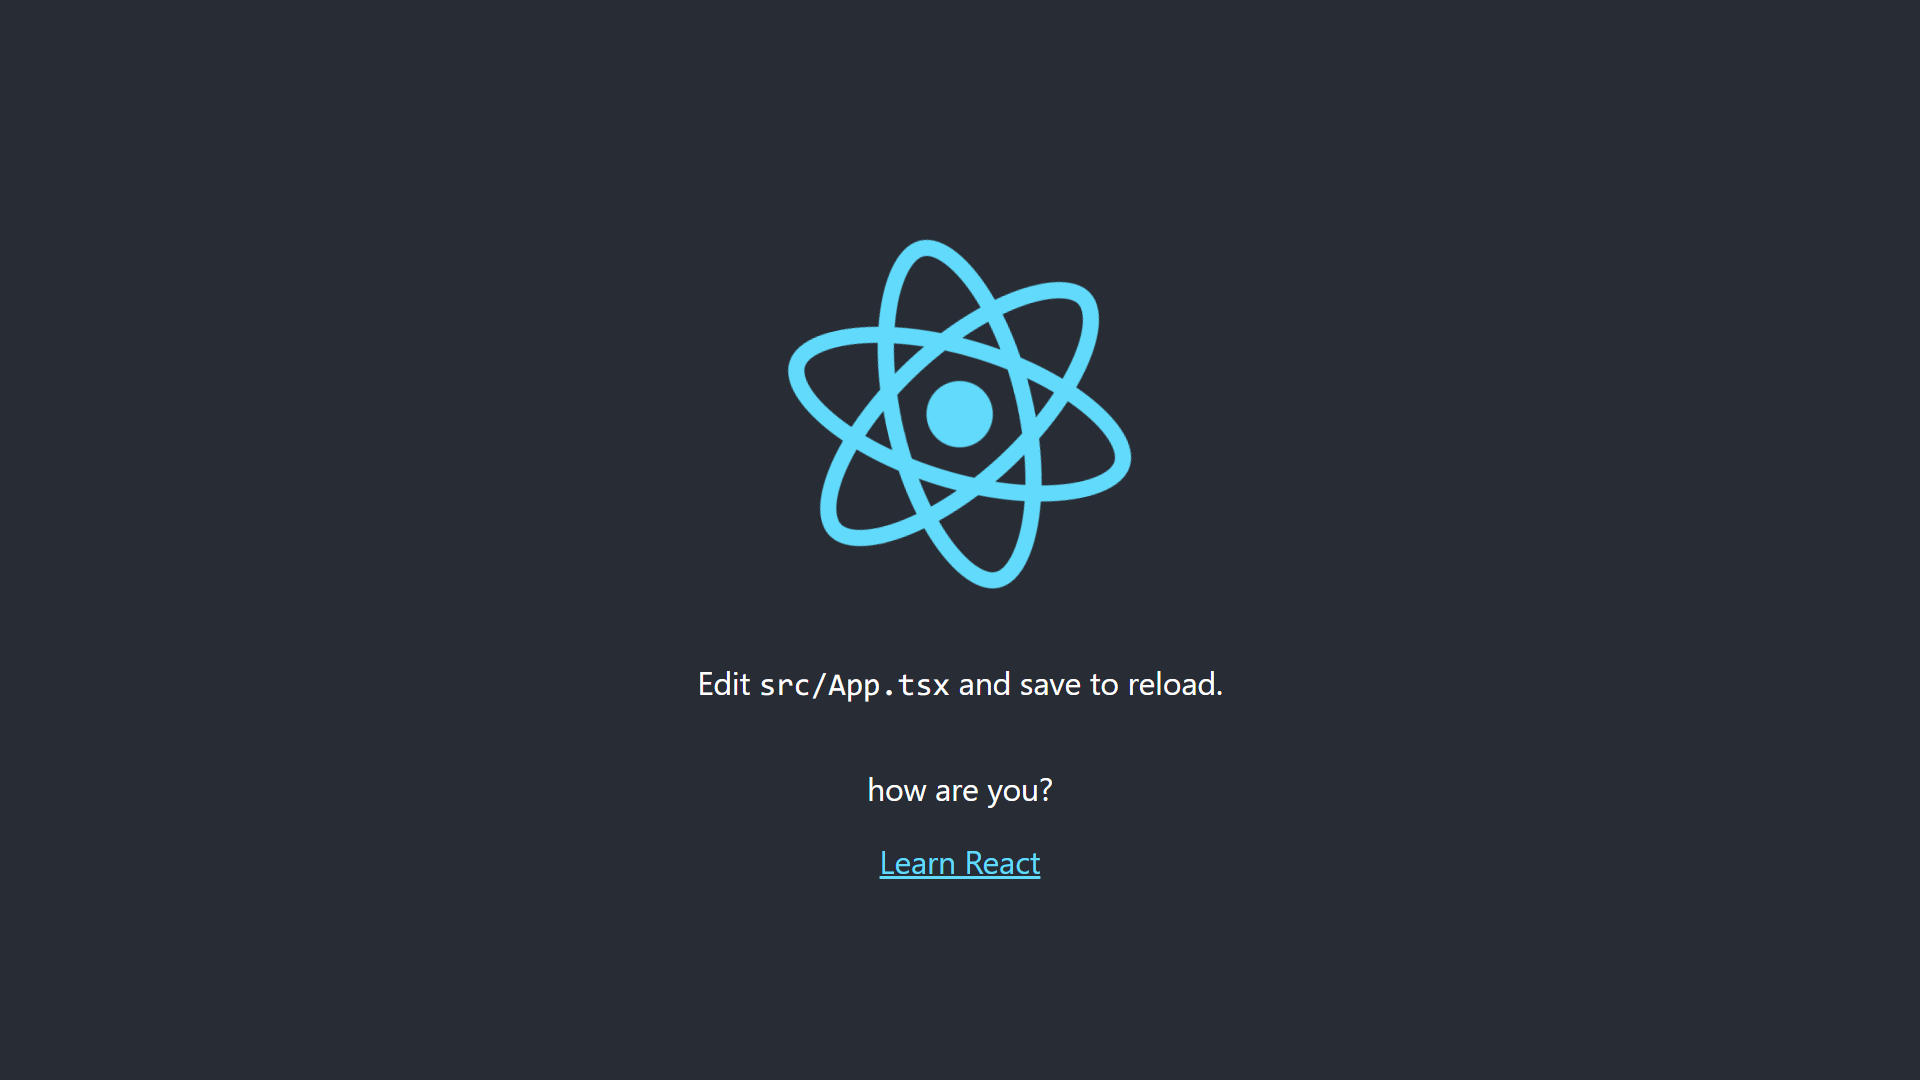
+ <p>{greeting}</p>
yarn start
How are you?
次の事項を確認してみてください。
- バックエンドサーバーを起動していますか?(
frourio-tutorial/serverディレクトリでyarn ts-node index.tsを実行) - フロントエンドサーバーを起動していますか?(
frourio-tutorialディレクトリでyarn startを実行) - API ファイルを生成しましたか?(
frourio-tutorialディレクトリでyarn aspidaを実行)